Drum Tuning Aids

Welcome back to the Chops blog! Today we’re going to follow up on our series on snare drum care and maintenance with an introduction to drum tuning aides.

In the final post on snare drum maintenance we discussed the subjective nature of drum tuning. Ask ten different drummers their opinions on tuning and you’ll get ten different answers!

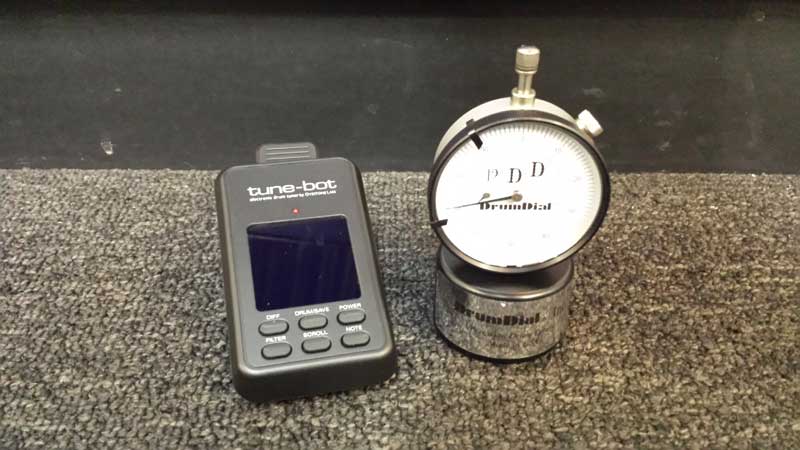
Just like playing drums, it takes practice and experience to learn to tune them well. Fortunately, there are several products that can simplify and remove the guesswork from the process. We recommend the Drum Dial and Tune-Bot.
tuning-aides

The Drum Dial  is a “timpanic pressure meter” that measures drum head tension. By simply placing it on the drum head you can easily read its tension and then tune accordingly. Check it out in action here:

We’ve found that with a little practice the Drum Dial makes tuning easy and consistent. We also like that it allows you to remove a head and tune it’s replacement to the same pitch. A customer recently told us that he relies on his Drum Dial to tune his drums accurately, especially in noisy environments when he can’t hear clearly.

We also carry the Tune-Bot, a newer tuning aid. It is an electronic device that works much like a tuner for pitched instruments. You can use it to tune your drums to a specific pitch, and match lug pitches. It also includes the ability to record and store your tuning preferences for future use.

While tuning drums is a skill that takes time and practice to develop, the Drum Dial and Tune-Bot are great tools to simplify the process. We’ve used, and recommend both to all percussionists. Contact us  to pick up a Drum Dial or Tune-Bot today!


Snare Drum Maintenance Part 5 – Installing Wires and Tuning

Welcome to the fifth and final post in our series on snare drum maintenance. Last time we discussed how to properly install new heads. Today we’ll finish the process by tuning the drum and reinstalling the snare wires.

Before we begin, it should be noted that unlike other instruments, tuning drums is a matter of personal preference. While there are general guidelines to tuning drums, every drummer will tune their drums differently depending on their touch, technique, equipment, experience, and the style of music they are playing. Here are our recommendations.

With the new heads installed, it’s time to begin tuning. Use the cross pattern we introduced in our previous lesson to gradually bring the up the tension on the top and bottom heads.

Use a drum key to turn each tension rod 90°, or a quarter turn. After turning all the tension rods, repeat the pattern several times until there is a moderate amount of tension on the head. Repeat this process on the bottom head.

After you’ve put a moderate amount of tension on each head, use the cross pattern as described above, but with much smaller adjustments to the tension rods to fine tune the drum. Make small adjustments until the drum is tuned to your preference.

I recommend tuning the bottom head significantly higher than the top head. This relationship will provide great snare wire response while limiting sympathetic vibrations.

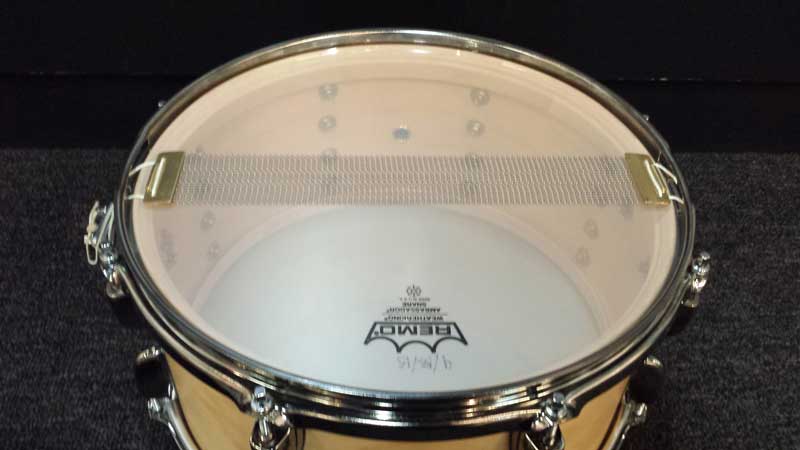
After you’ve tuned up both heads, it’s time to reinstall the snare wires. Begin by setting the wires on the head. Insert the straps or cords to the butt plate and tighten them down.

02-wires-in-place

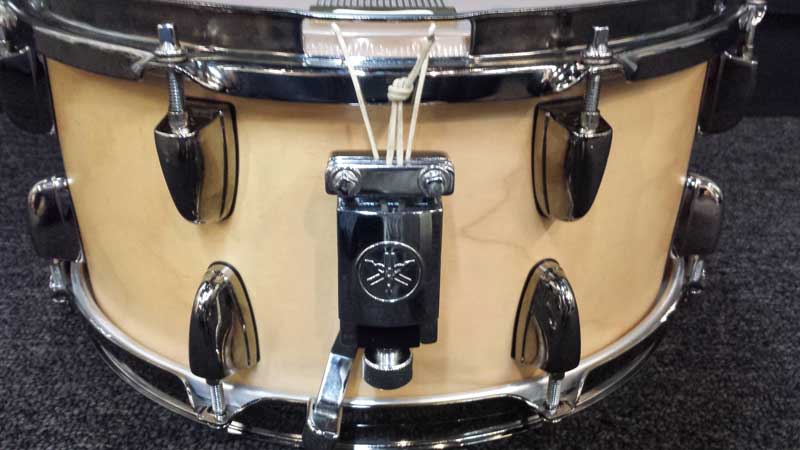
Turn off the snare strainer and use the knob or lever to loosen it until it almost comes apart. Insert the straps or cords into the snare strainer then use your fingers to tighten them in place.

03-wire-set-01

Turn on the strainer. With the straps held in by finger tension they will slip through the strainer as you turn it on. Notice the difference between the snare cord in the prior picture, and the picture below.

04-wire-set-02

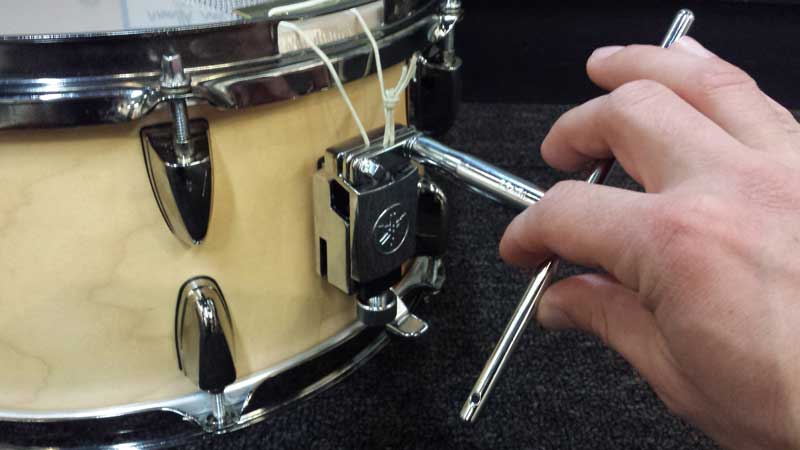
Finally, use your drum key to lock the wires into the strainer and adjust the snare strainer.

As we mentioned before, tuning a snare drum is a subjective process. The steps outlined above, and in previous posts, are recommendations based on our experience and preferences. You might have a totally different method, but that’s the beauty of tuning drums: there’s no absolute correct method. If it sounds good and works for you, it’s correct!

Please contact us with questions about tuning drums, recommendations on heads and snare wires, and with your own tuning methods. We look forward to hearing from you!

Snare Drum Maintenance Part 4 – Installing New Heads

Welcome back to our series on snare drum maintenance. In the last post we discussed how to properly remove worn drum heads. Today we’ll address how to replace them with new heads.

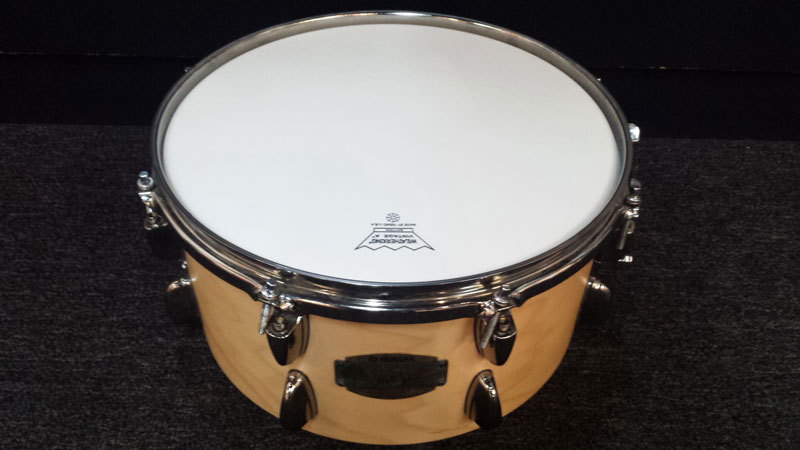
After you’ve removed worn heads and cleaned your drum, it’s time to install new heads. Begin by placing the new head on the shell, and the rim on the head. For aesthetics, most drummers align the logo on the head with the badge on the drum.

01-head-and-rim

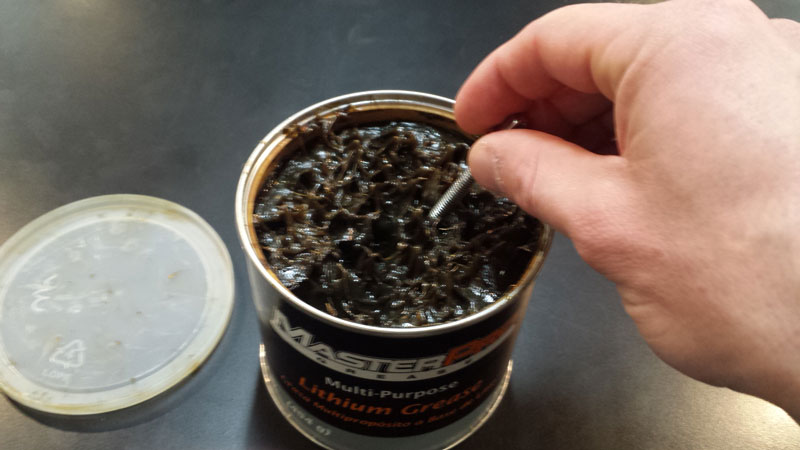
Before putting tension on the head you should consider lubricating the tension rods. Many products are available, but I recommend lithium grease. It’s inexpensive, effective, durable, and can be found at any auto parts store. To lubricate the tension rods, simply dip the threaded end into your lubricant.

02-lube

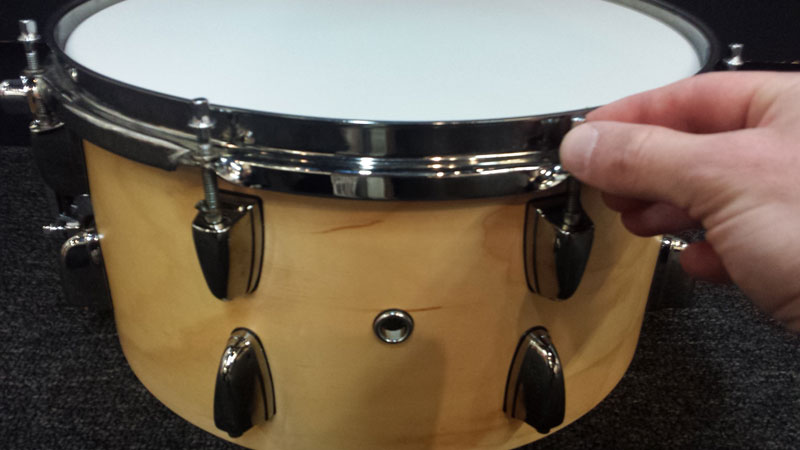
With the tension rods lubricated, insert them into the lugs. Following the same cross pattern we used to remove the heads in our previous lesson, use your fingers to draw the tension rods tight to the rim. Done correctly, this will apply a consistent level of tension across the head and prepare you to tune the drum with a key.

03-finger-tightening

With the top head installed, use the same technique on the new bottom head. Be sure to align the openings in the rim to the snare strainer and butt plate.

04-bottom-head

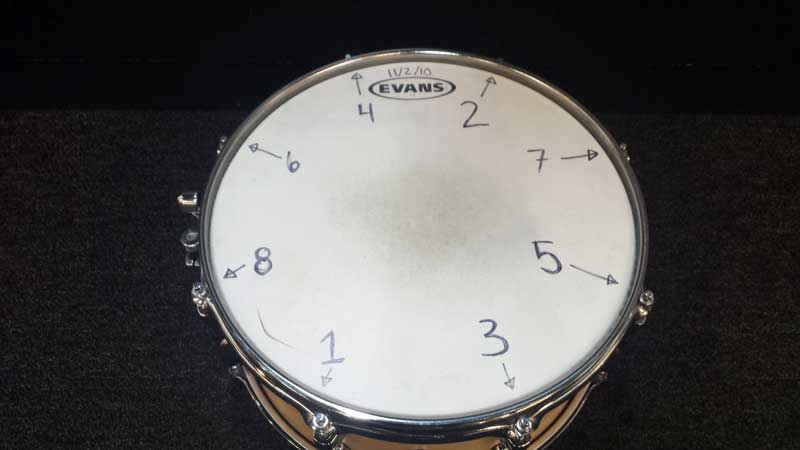
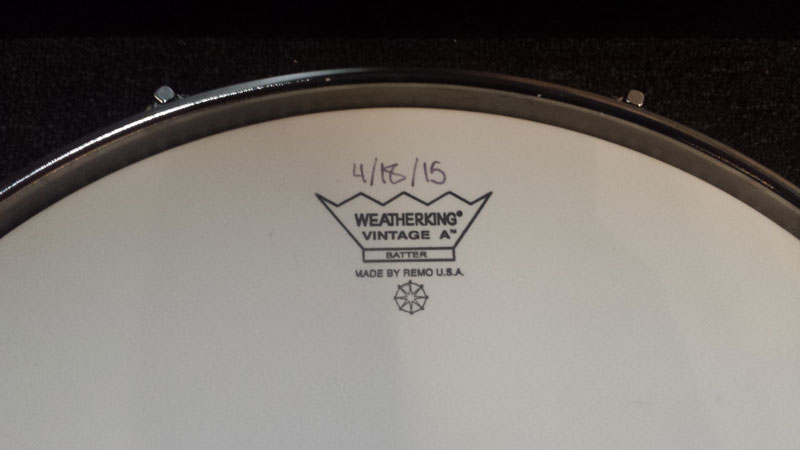
At this point I recommend using a permanent marker to write the date on the new heads. This will prevent you from having to remember how long the head has been on the drum. Remember, drum heads wear out.

05-date

With the new drum heads installed you’re ready to tune the drum and reapply the snare wires. Stay tuned, we’ll cover those steps in our next lessons!

Need new heads or a drum key? Stop by or give us a call!

Snare Drum Maintenance Part 3 – Removing Heads

Welcome back to our series on snare drum maintenance. In the previous posts we discussed how to identify and replace worn snare wires. Today we’ll address the first step in replacing drum heads: how to remove worn heads.

Believe it or not, all drum heads will eventually wear out. Fortunately, it’s fairly easy to remove and replace them. Follow this procedure to replace the heads on your drums.

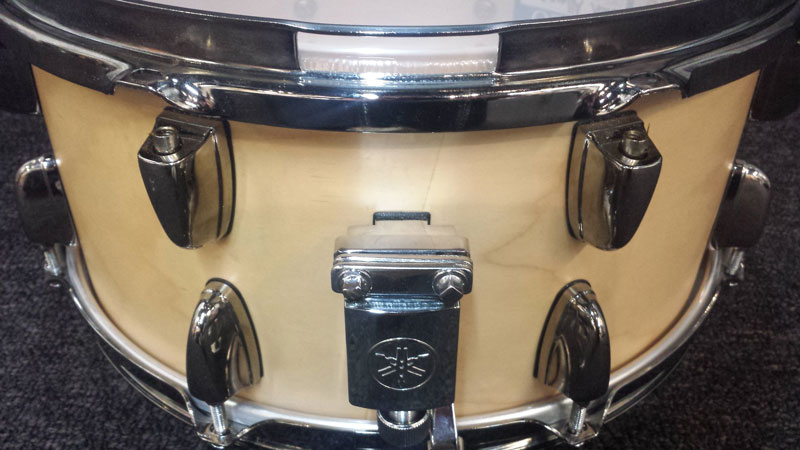
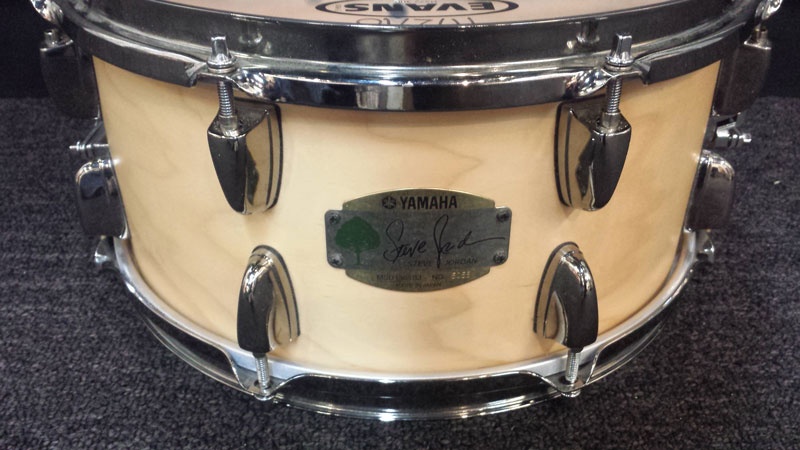
Before we begin you’ll need to know the name of your drum’s parts. Your drum heads are held in place by the rims, the circular metal or wood pieces. Tension is applied to the rim and heads by the tension rods, the bolts with a specialized square end. The tension rods are screwed into lugs, the metal pieces attached to the drum shell.

01drum-front

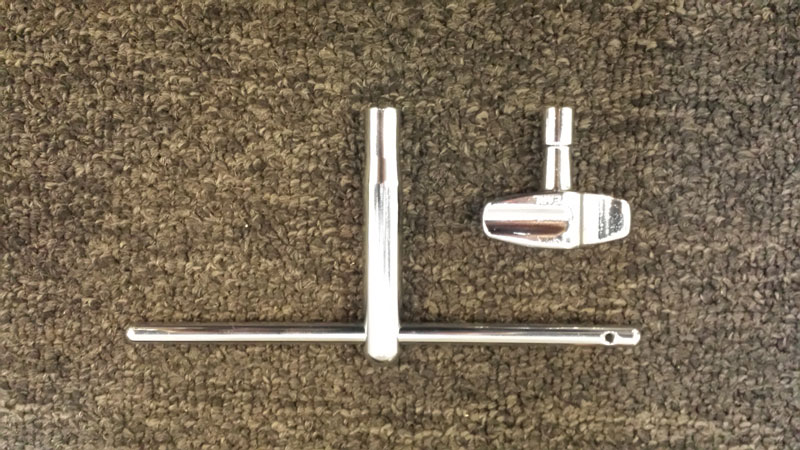
You will need a drum key to remove the heads. Keys are inexpensive, and readily available, but I recommend the larger keys designed for marching drums. They are more expensive, but the extra leverage makes changing heads much easier.

02drum-keys

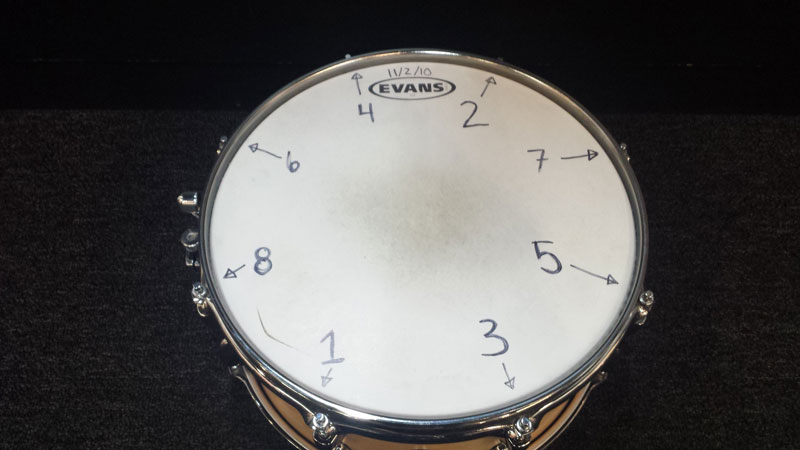
Begin by gradually releasing the tension from the rim. Using the pattern illustrated below, loosen all the tension rods a quarter or half turn.

03cross-pattern

Repeat this pattern several times until there is no tension left on the head. By removing tension gradually you prevent damage to the rim, which can be warped by uneven pressure.


At this point you can use your fingers to remove the tension rods from the lugs. There’s no need to remove the tension rods from the rim. Simply let gravity hold the tension rod in the rim.


To remove the bottom head, remove the snare wires and repeat this process. We’ll discuss setting and adjusting the snare wires in an upcoming lesson.


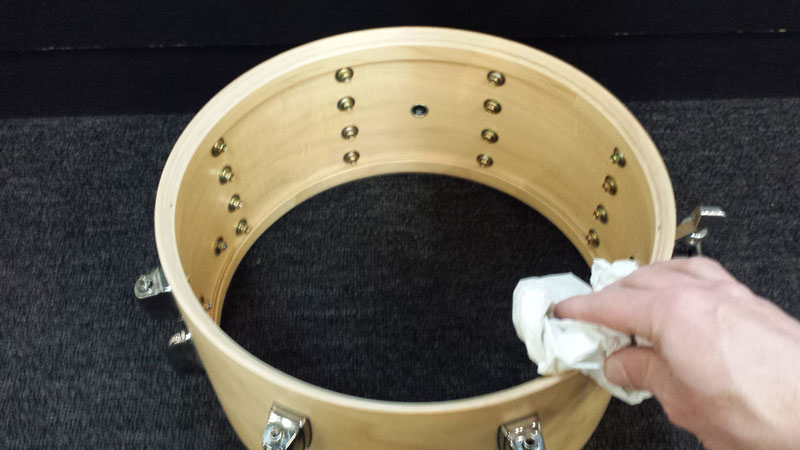
Once you’ve removed both heads consider taking the opportunity to clean your drum. Take a paper towel and remove any dust and pieces of drum sticks that might have collected between the head and bearing edges.

04cleaning

With the old heads removed, and the drum cleaned, you are now ready to put on the new heads. Stay tuned, we’ll cover that in our next lesson!


Need new heads or a drum key? Stop by or give us a call!

WGI Wrap-Up 2015

chops-wgi

Chops Percussion made the trip to Dayton, OH this past weekend for the WGI World Championships. We’re very lucky to have the support of many schools and independent groups that made the trip as well. Without these groups, our success would not be possible. Congratulations to the following groups for making WGI Finals in their respective classes:


Scholastic A
Decatur Central HS (7th Place)
Zionsville Community HS (10th Place)
Greenfield-Central HS (15th Place)


Independent A
Ferndale Independent Percussion (Silver Medalist)


Scholastic Open
Victor J Andrew HS (7th Place)
Franklin Central HS (10th Place)


Scholastic World
Avon HS (4th Place)
Center Grove HS (6th Place)
Goshen HS (8th Place)
Clinton HS (10th Place)
Forsyth Central HS (13th Place)


Scholastic Concert World
Goshen HS (Silver Medalist)

Congratulations to the following groups for their participation at the WGI World Championships:

Norwell HS (PSA); Minooka Community HS (PSA); Carroll HS (PSA); Tri-West HS (PSA); Pike HS (PSO); Plainfield HS (PSO); Lambert HS (PSW); Ben Davis HS (PSW); Legacy Indoor Percussion (PIW).

We’ll see you next year in Dayton!!!!