
Snare Drum Maintenance Part 4 – Installing New Heads
Welcome back to our series on snare drum maintenance. In the last post we discussed how to properly remove worn drum heads. Today we’ll address how to replace them with new heads.
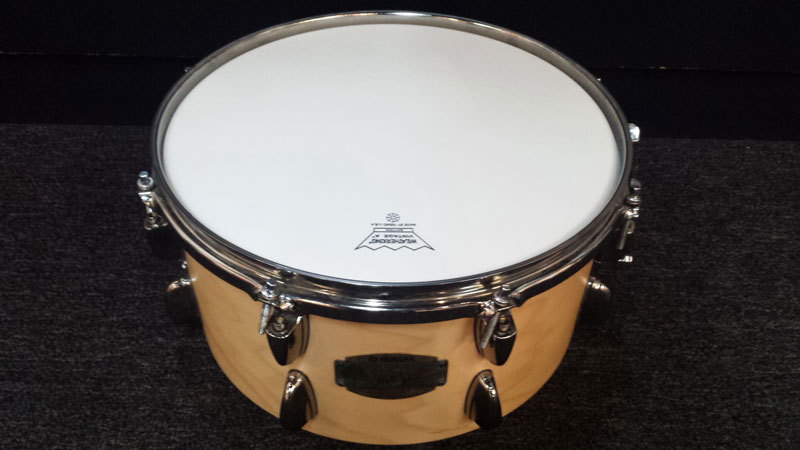
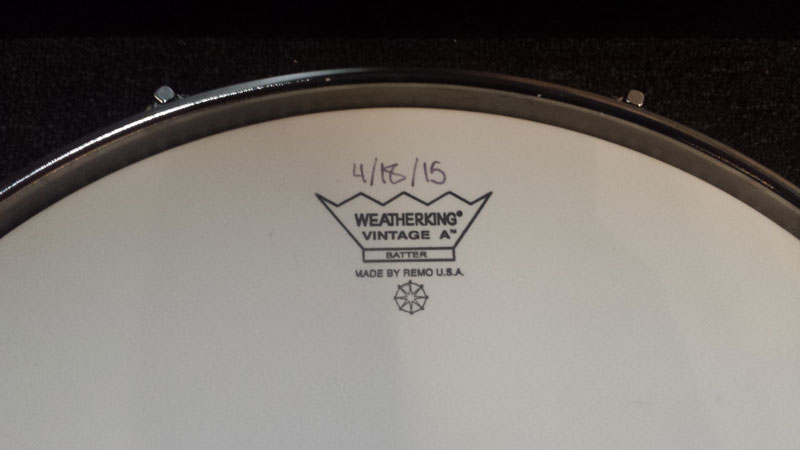
After you’ve removed worn heads and cleaned your drum, it’s time to install new heads. Begin by placing the new head on the shell, and the rim on the head. For aesthetics, most drummers align the logo on the head with the badge on the drum.
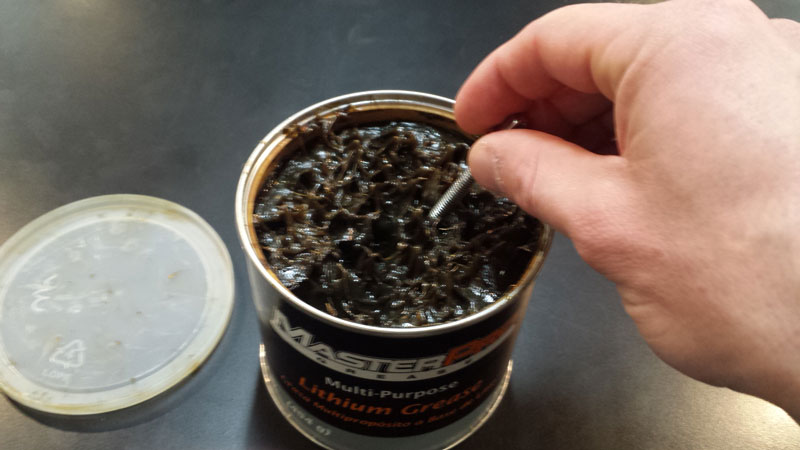
Before putting tension on the head you should consider lubricating the tension rods. Many products are available, but I recommend lithium grease. It’s inexpensive, effective, durable, and can be found at any auto parts store. To lubricate the tension rods, simply dip the threaded end into your lubricant.
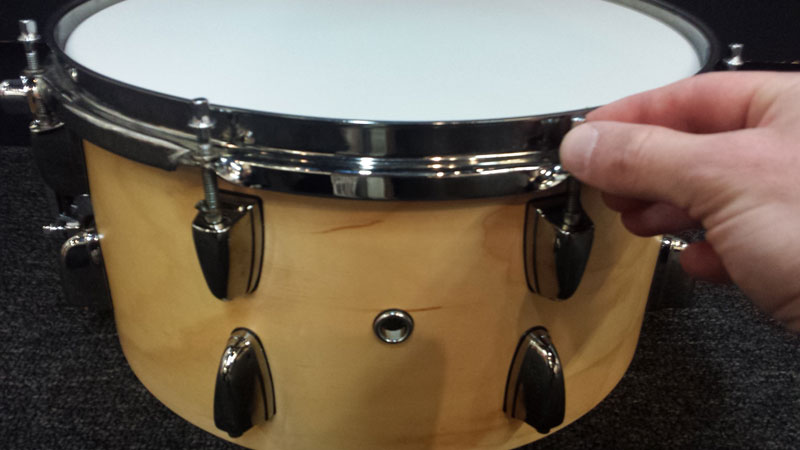
With the tension rods lubricated, insert them into the lugs. Following the same cross pattern we used to remove the heads in our previous lesson, use your fingers to draw the tension rods tight to the rim. Done correctly, this will apply a consistent level of tension across the head and prepare you to tune the drum with a key.
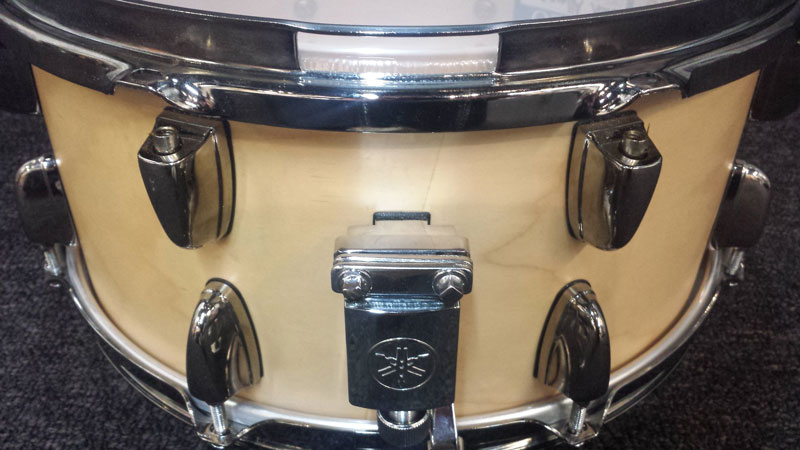
With the top head installed, use the same technique on the new bottom head. Be sure to align the openings in the rim to the snare strainer and butt plate.
At this point I recommend using a permanent marker to write the date on the new heads. This will prevent you from having to remember how long the head has been on the drum. Remember, drum heads wear out.
With the new drum heads installed you’re ready to tune the drum and reapply the snare wires. Stay tuned, we’ll cover those steps in our next lessons!
Need new heads or a drum key? Stop by or give us a call!
No Comments